Create another workspace
Start a second workspace for another company or brand from the account menu, and how its plan works.
Updated
A workspace is one company or team: its own domain, users, shared mailboxes and mail. If you run more than one company or brand, create a workspace for each. You do this yourself from the app; there is no new request to fill in.
Create a workspace
- Open the account menu at the bottom of the sidebar (on a phone, open the menu first).
- Choose Create a workspace.
- Fill in:
- Workspace name: the company or team name.
- Domain: the domain its addresses will be on, for example acme.com.
- Your address: the address you want on that domain, for example jane for jane@acme.com.
- Your name and a password for the new account (at least 10 characters).
- Choose Create workspace.
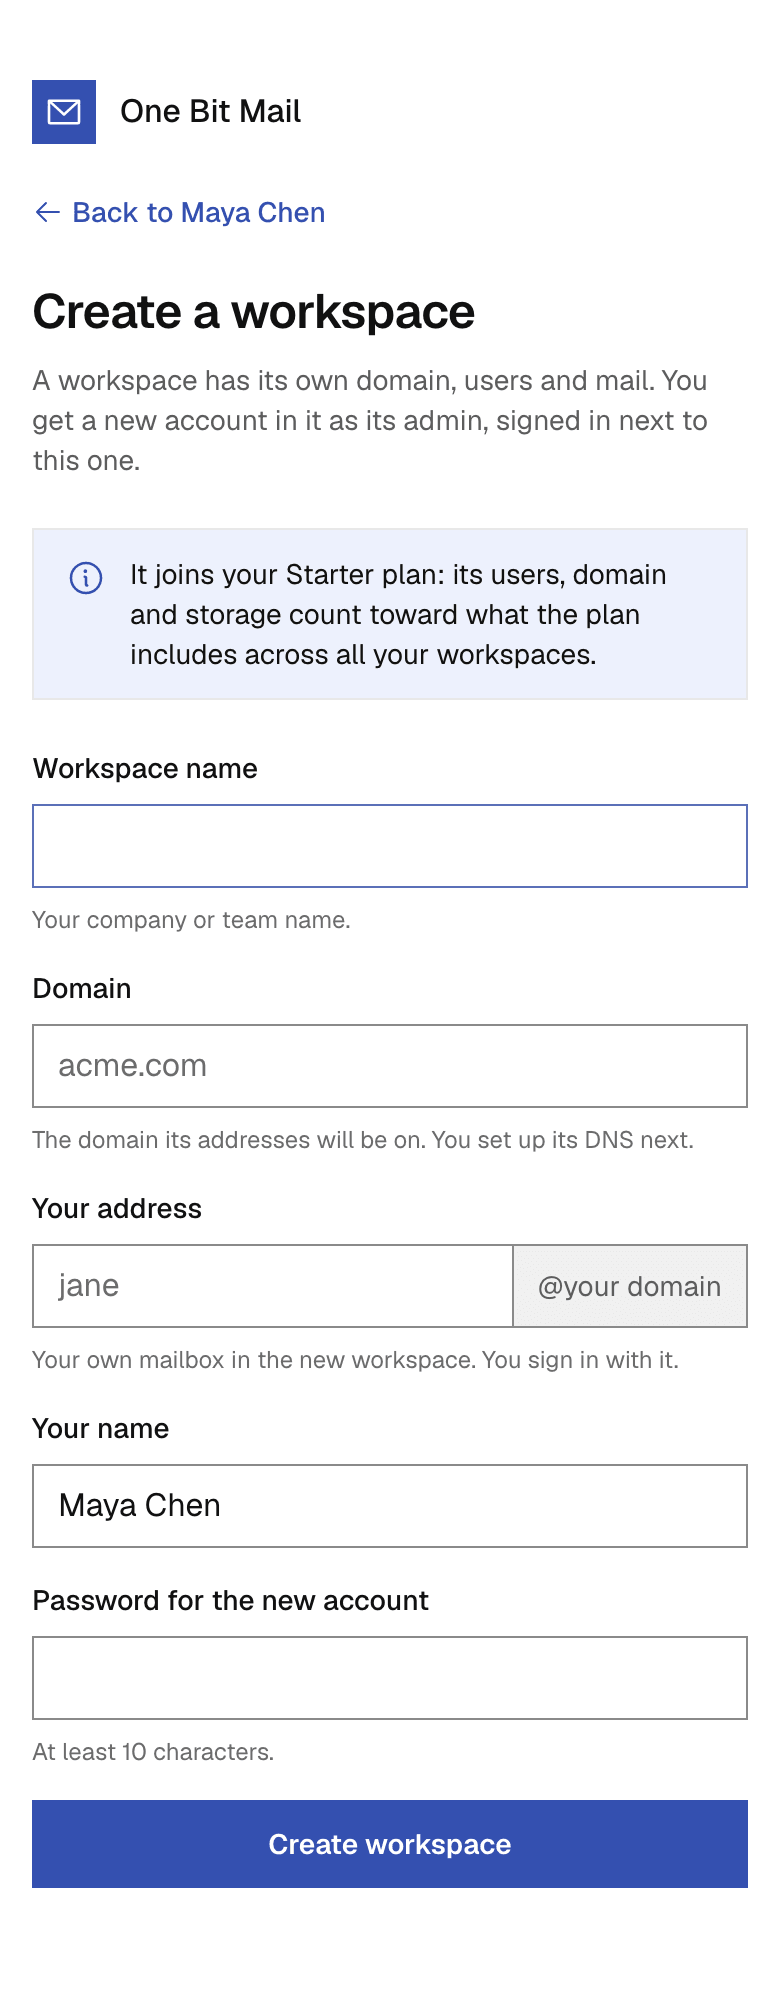
You get a new account (jane@acme.com) as the new workspace's admin. It is signed in next to the account you were using, so you can switch between them from the account menu. Password resets for the new account go to the address you were signed in with when you created it.
The new workspace opens in its Admin console. Add its DNS records next: see Add your domain. Mail starts arriving once the records check out.
Which plan it is on
The page tells you before you create it:
- If you manage your plan (you are one of its billing managers), the new workspace **joins your plan**. One plan covers all your workspaces: users, domains, shared mailboxes, storage and recipients per day are counted across all of them together. The new workspace needs room for one more user and one more domain. If your plan is full, the form says what to add; add users or domains, or change plan, in Plan & billing first. The new account manages the plan too, so you can open Plan & billing from either account. See Plans and limits.
- Otherwise the new workspace starts on the Free plan, on its own. Free costs nothing and has room for one user and one domain. You can upgrade it later from Plan & billing in its Admin console.
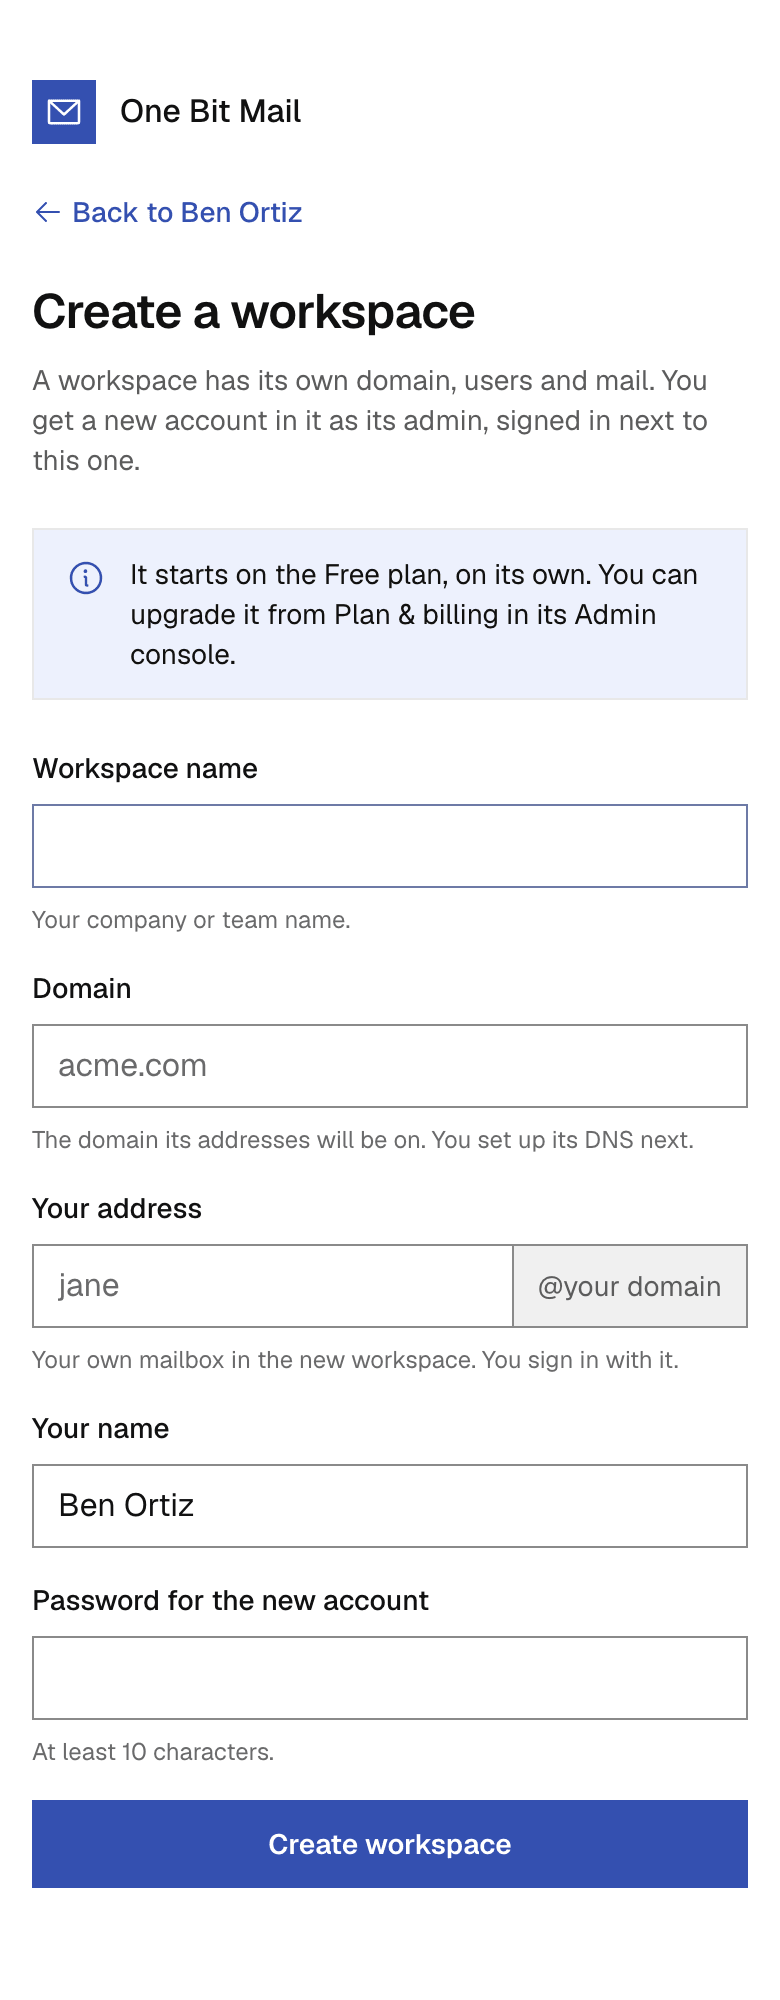
Creating a workspace is free either way. Each workspace keeps its own admins, users, mail and sending history, and new workspaces start with lower sending limits that rise as they build a clean history (see Sending limits).
When a workspace waits for review
A new workspace opens at once when every workspace on your plan is in good standing. If one of them is suspended or its sending is paused, we review the new workspace by hand first. The page says so, and we email you when it is decided. Then sign in with the new address and the password you chose.
Limits
- You can create up to 5 workspaces a day.
- You can be signed in to up to 5 accounts in one browser. If you already are, sign out of one first: the new workspace adds an account.
- A domain can belong to only one workspace. If the domain is already used here, ask that workspace's admin to add you instead.
To delete a workspace you no longer need, see Workspace settings.